Instalacion de la Capota II
Aqui tenes la guia Pascual!! 
Airborne Bob escribió:That time of year again, fellas. Time to get the soft top back on. Most of you already know how to do this, but I took some pictures for some of the newbies who might not know how they go on. After the Aberdeen run, I take my canvas top off for the summer. Then, about this time of year, it goes back on again for the winter. Let's get started:
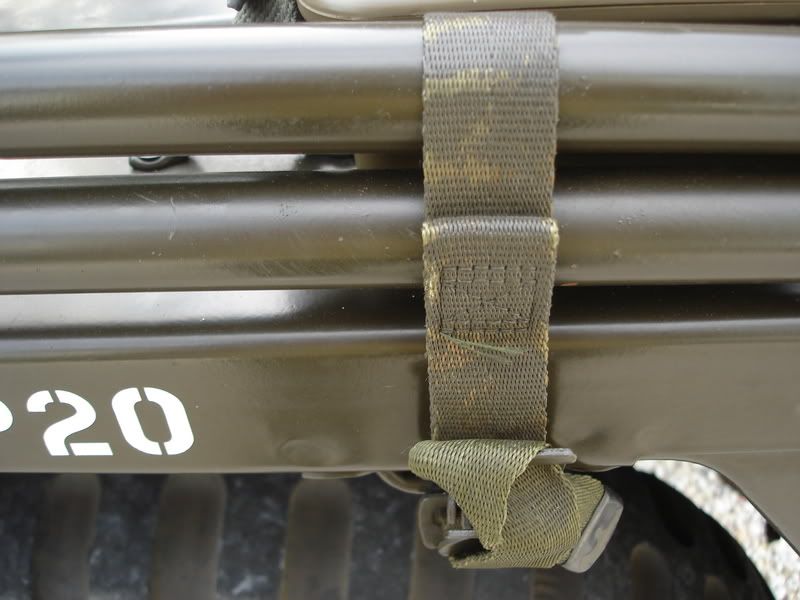
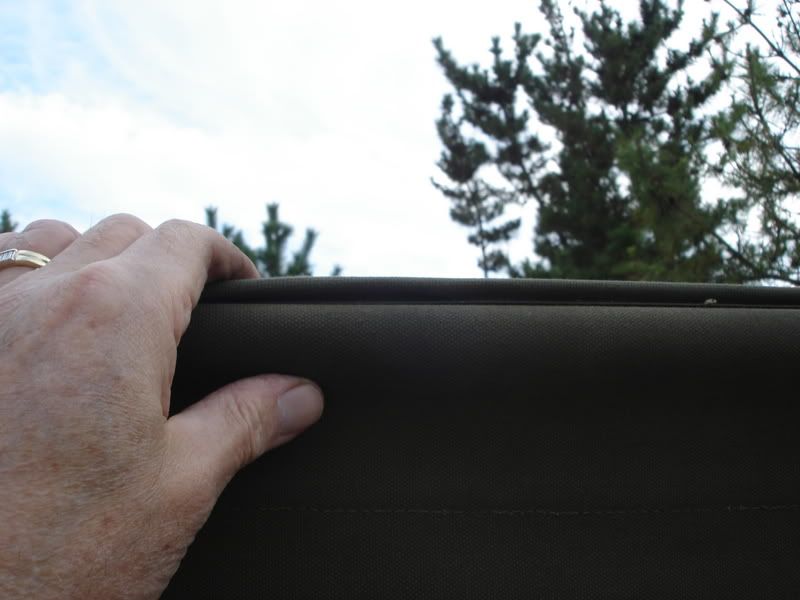
Undo the straps that hold your top bows to the body.
Start unfolding the top bow mechanism.
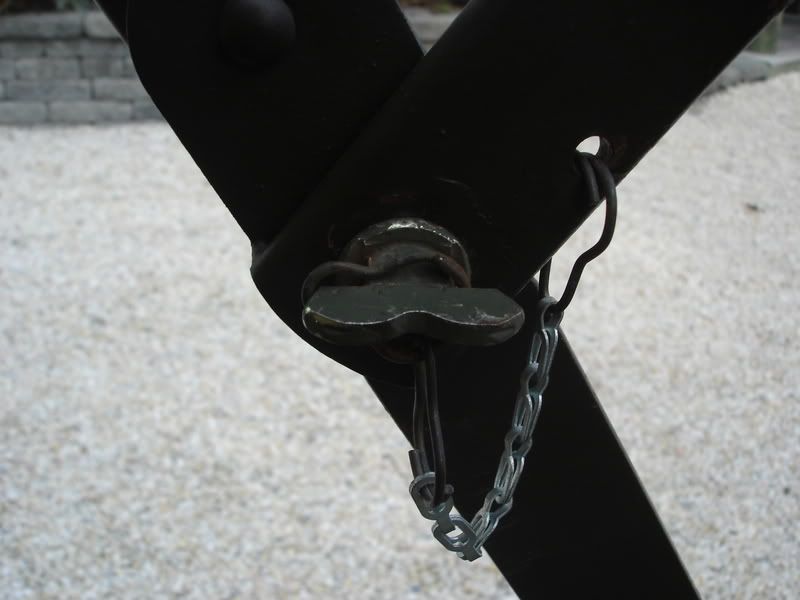
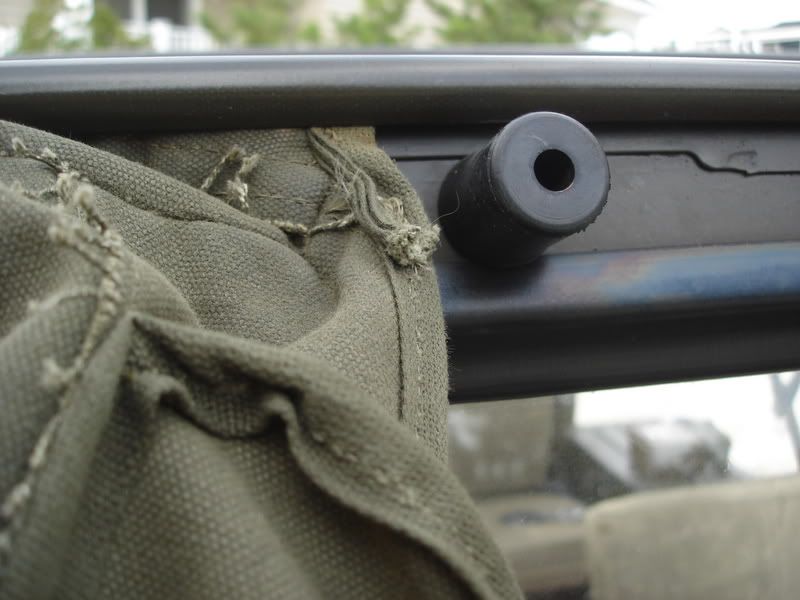
Manipulate the top bows until you lock the arm into the pin on the side of your jeep.
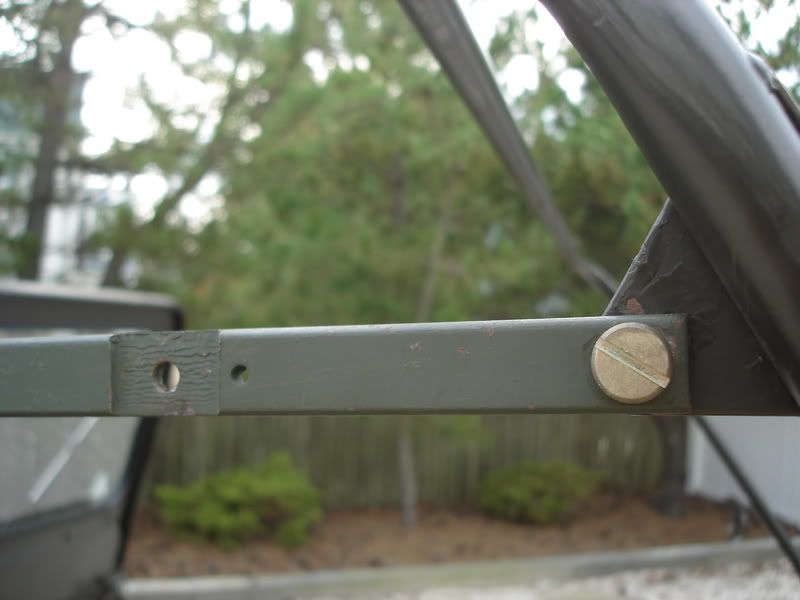
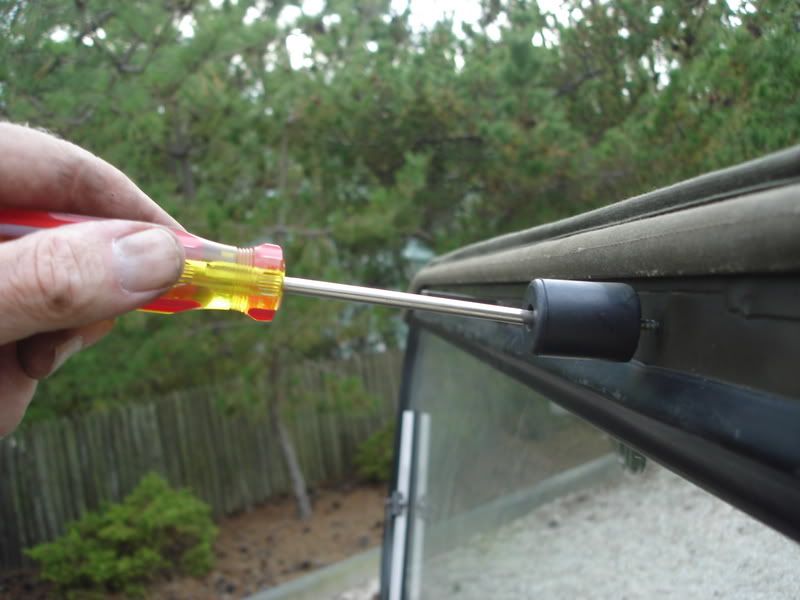
Insert the thumb screw into the hole from the inside and tighten it down.
It should look like this after it's tightened.
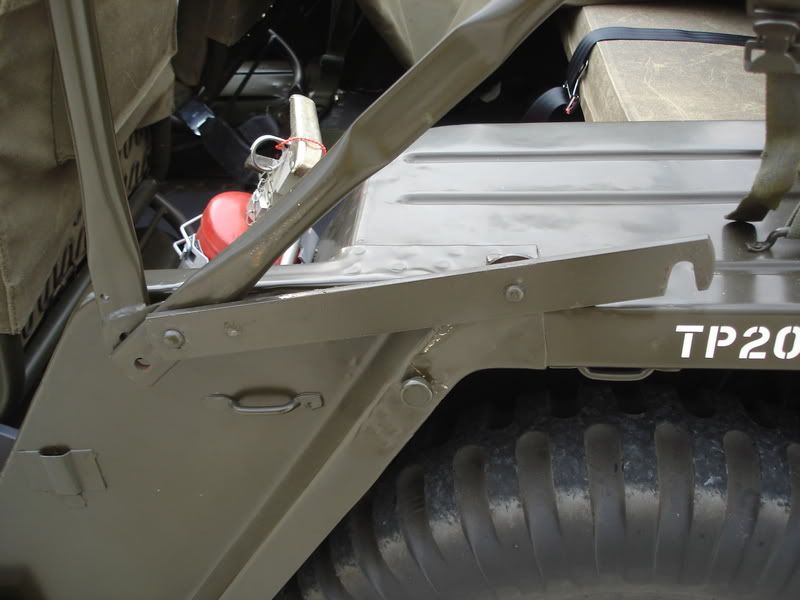
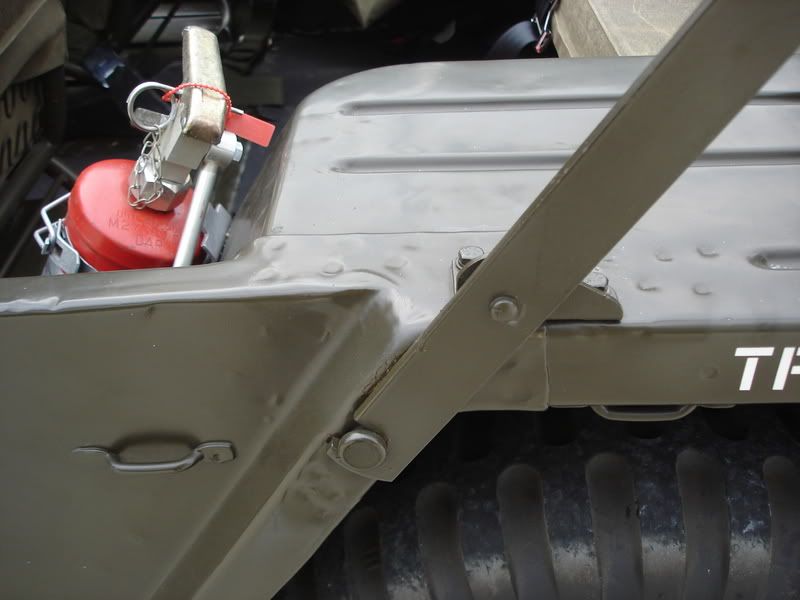
Attach your top rods that run from the bow frame to the windshield.
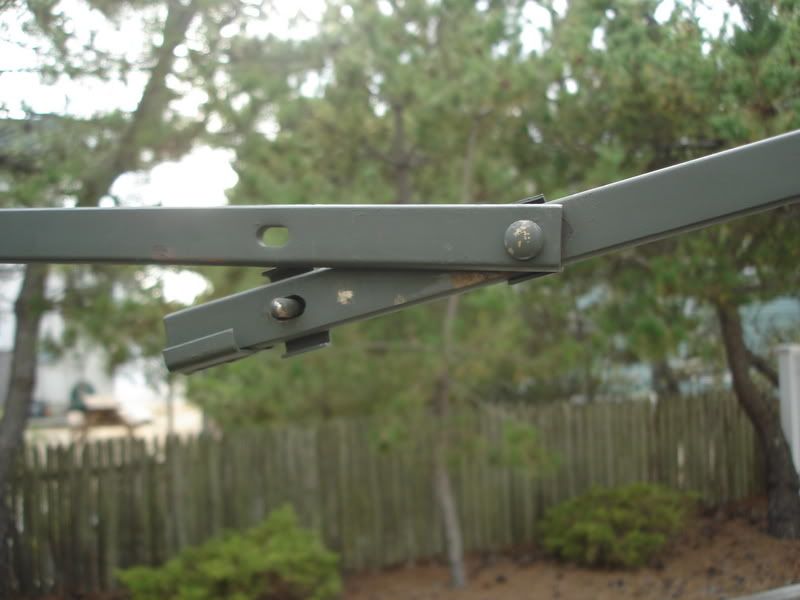
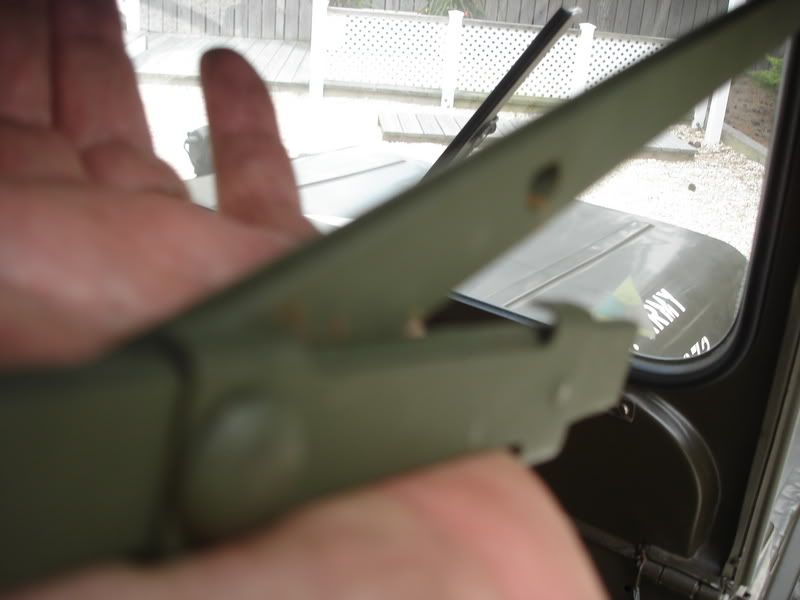
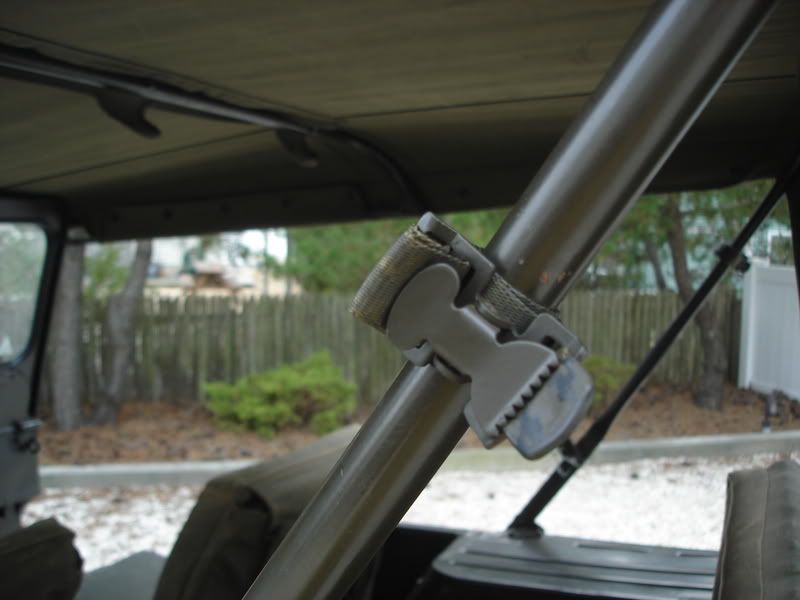
Undo the "breaking" mechanism (above) on the arm that allows some freedom of movement between the windshield and the bows.
Now you can start feeding the canvas top through the channel at the top of the windshield. The top has to be upside down to do this. It's best to lay it on the hood and start feeding it carefully in from one side.
If you've got hood bumpers on your windshield, you might want to remove them. I do, because it makes the job a lot easier. The only other obstacle is the hood latch in the center of the windshield, which will give you trouble if you don't lift the top as you continue feeding it through the channel.
At this point, I find it easier to stand inside the jeep and finish pulling it through from the top.
It'll look like this after you've fed it through the channel. Make sure both sides are equidistant from both sides of the windshield.
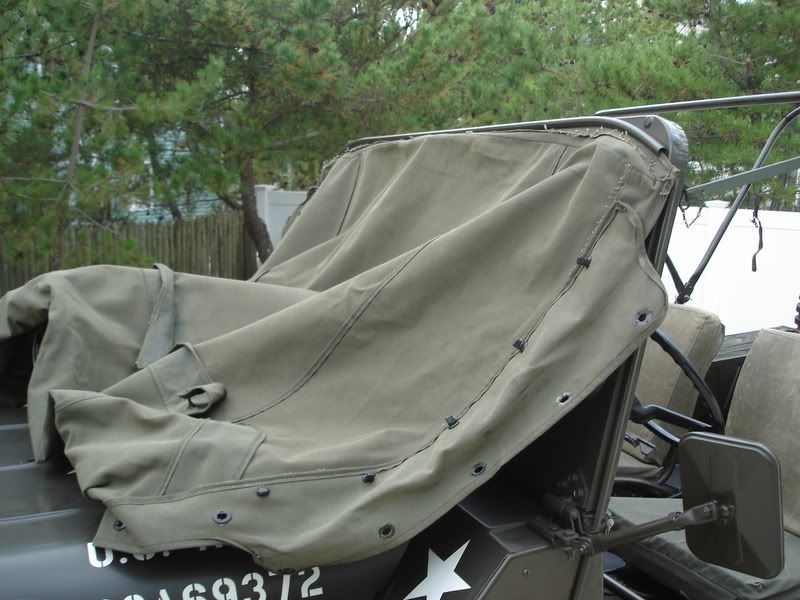
Now go ahead and flop it over the top bows.
Pull the canvas over the bows (with the top steel rod still "relaxed" in the open position). This will enable you to still get the top on properly even if your canvas has shrunk a little since the last time you had it on. You want to "work" the canvas on over the bow at the rear so that the back stitching sits on top of that rear bow, then start to cinch it up.
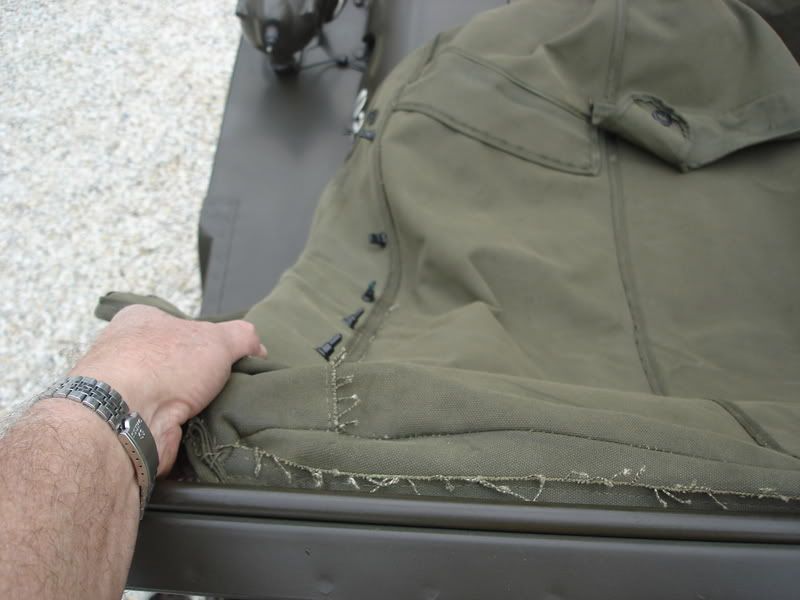
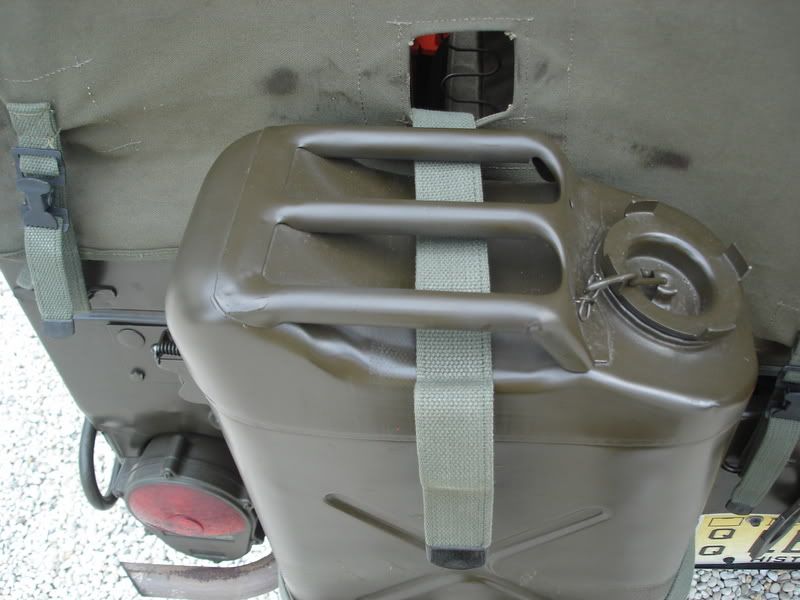
You'll need to undo your gas can strap and feed it through the hole in the canvas that's there for that specific purpose.
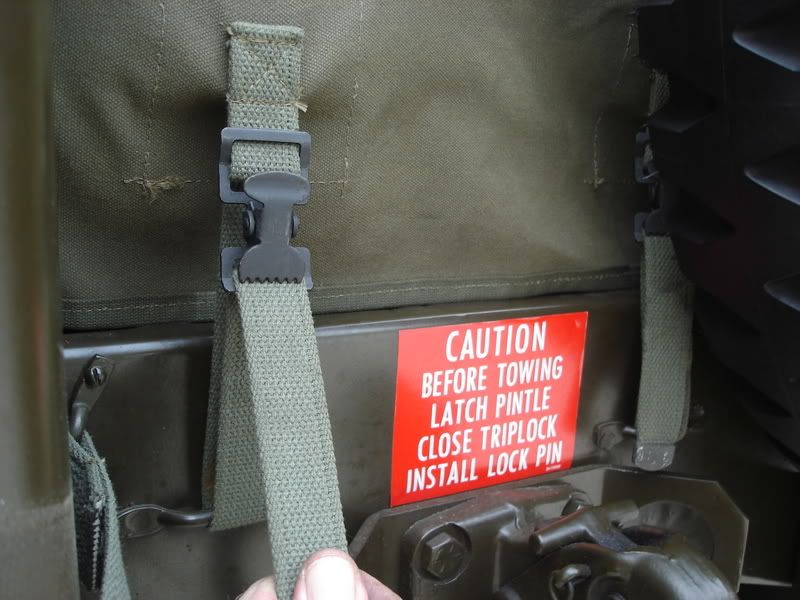
Now go ahead and finish pulling all those straps tight. You're probably going to have to loosten your spare tire, because the right rear strap is a bitch to tighten properly if you don't.
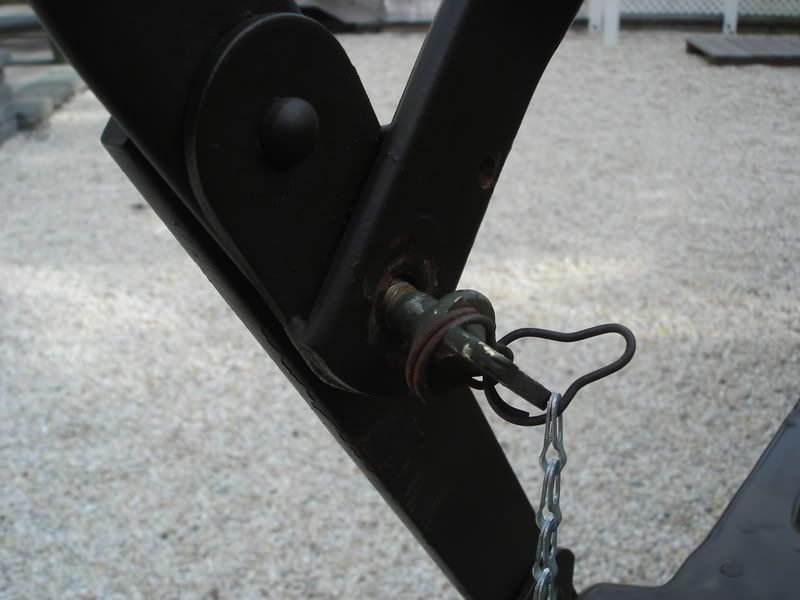
When you've got the straps tight, now you can reposition your "breaking arm" back into the straight position and make sure it locks into that position. This will tighten up the top and allow it to stretch back out.
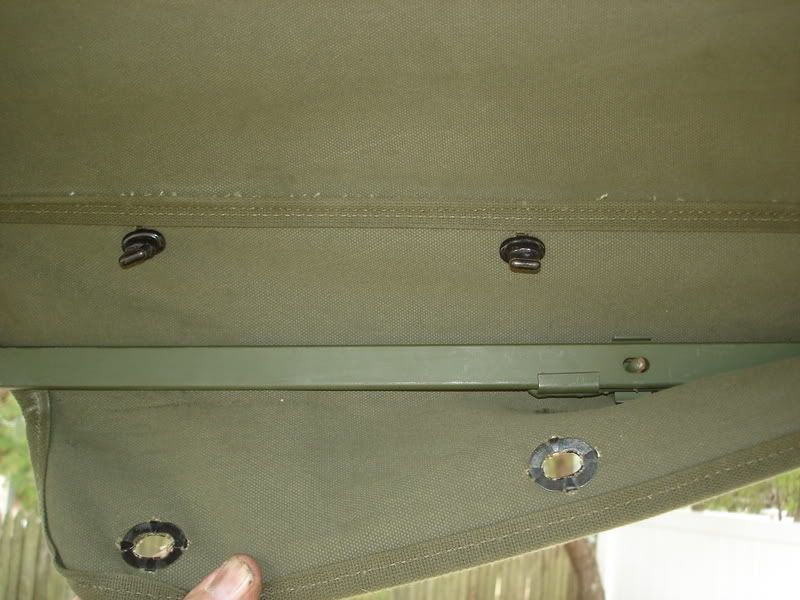
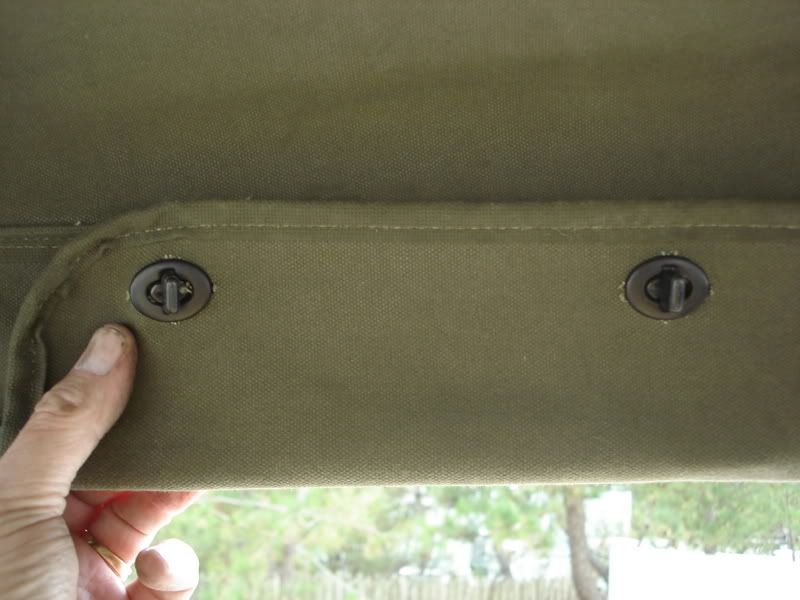
Refasten the sides of the canvas top to the rod (or bar) that runs between the bows and the windshield. You can see that the bar (above) is locked in the straight position now.
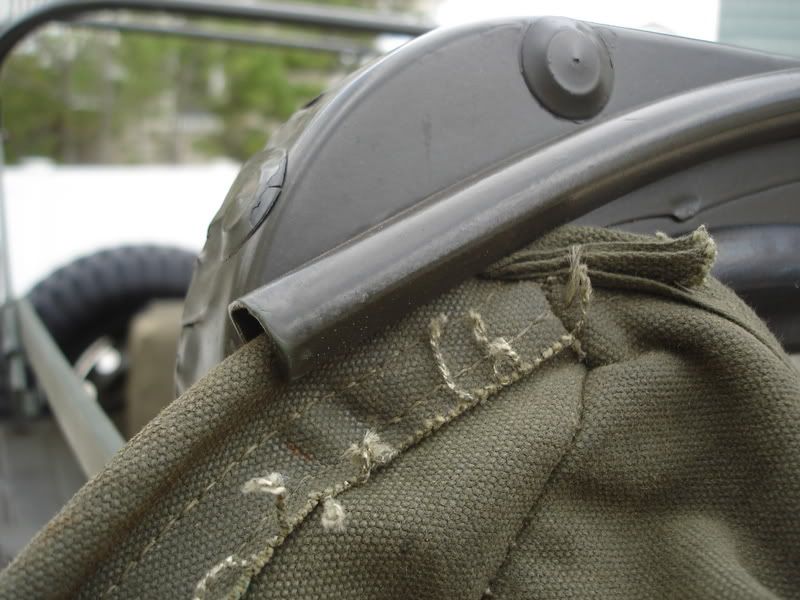
The inside of the top should look like this when completely fastened to the bar.
Finish up the job by refastening your bow straps to themselves. You have to kind of play around with them and you'll find a way to cinch them up as shown above.
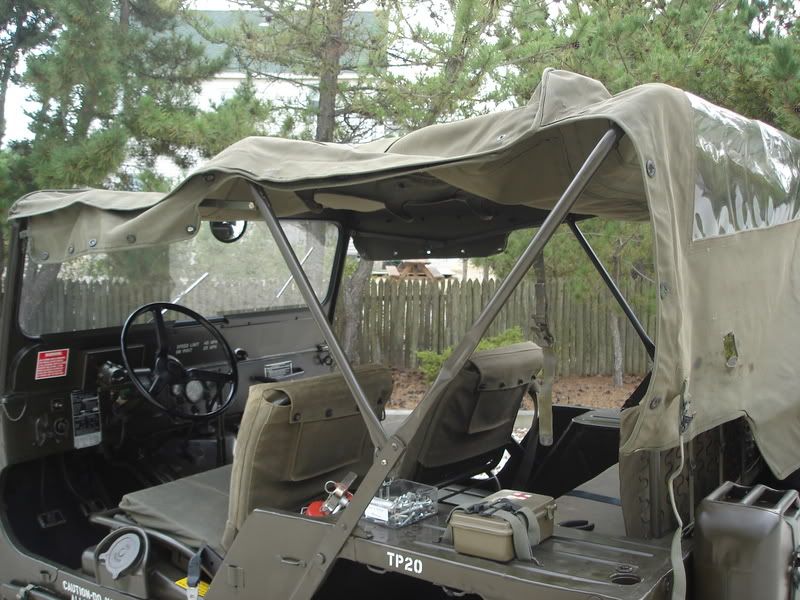
Don't forget to refasten your hood bumpers.
When done, the top should fit squarely and snugly. Oops! I forgot to double up my cinch straps into the clamps so they don't fly around on me.
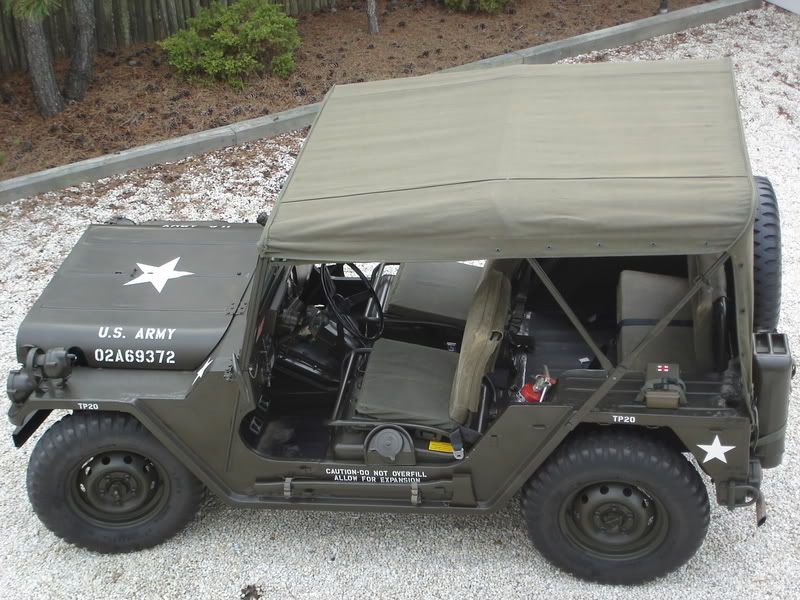
Mission accomplished. All set for the winter and another trip to Aberdeen in the spring! This is a Dave Pizzaferrato top. I think he does pretty nice work.
Hope you newbies enjoyed this tutorial. I just hope when I click the "Submit" button that this board takes all this photo bandwidth in one post!